Jump to content

The Creation Process of Bingata

  •    

    Japanese Gallery (Honkan) Room 19
    April 5, 2022 (Tue) - September 10, 2023 (Sun)

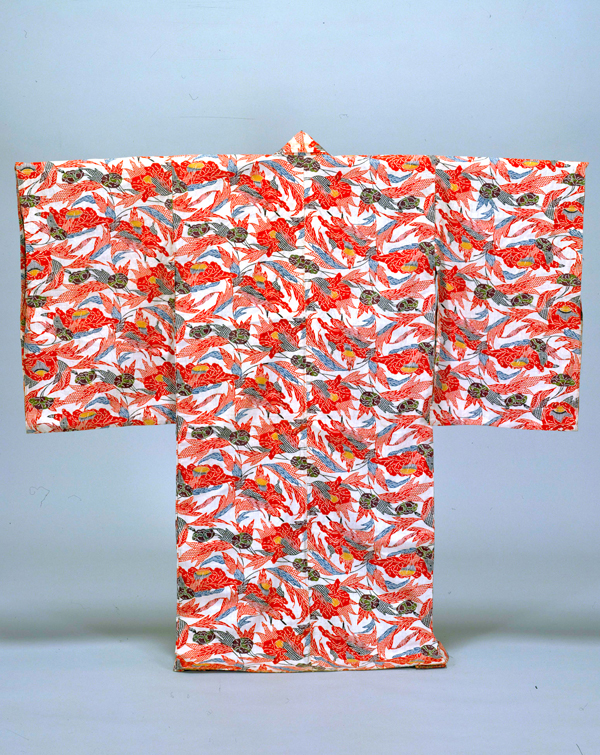
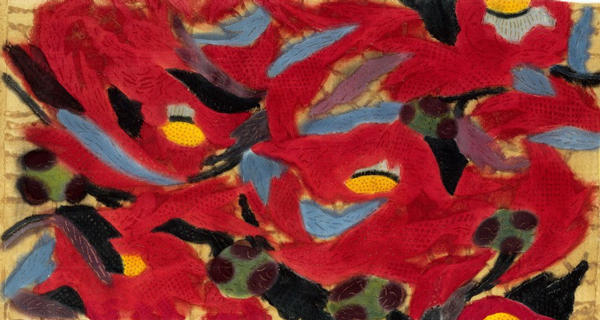
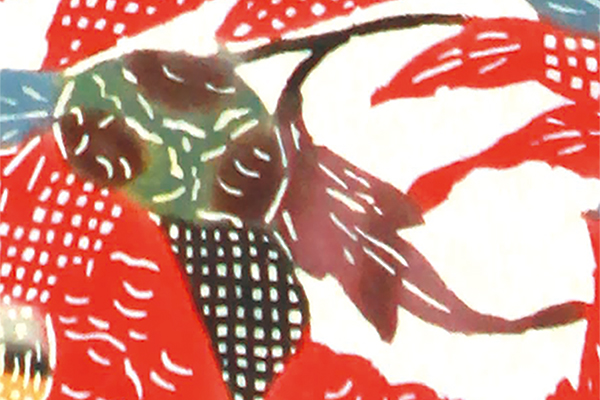
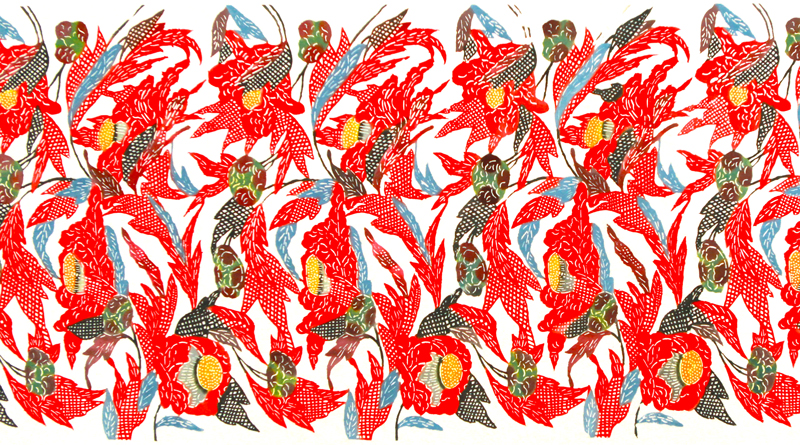
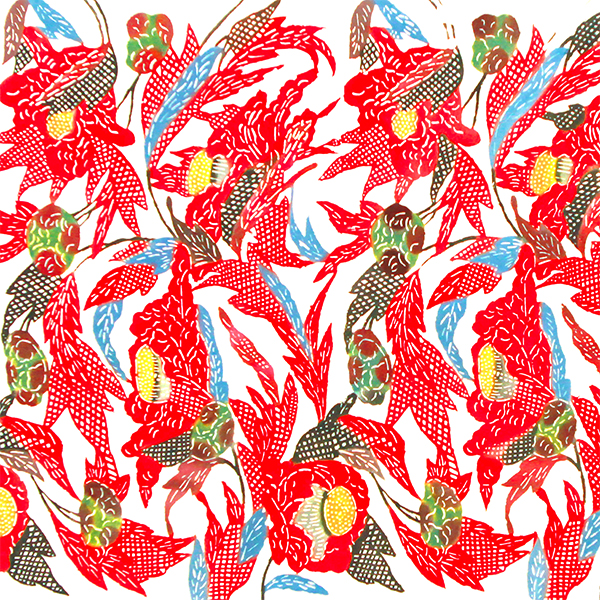
    In collaborating with interns from the Graduate School of the Tokyo University of the Arts, the Tokyo National Museum is reproducing artworks to study and reveal the process behind their creation. This year's project features a garment from Okinawa, made by using the traditional bingata dyeing technique. With a mass of colorful peony flowers, buds, and leaves, all dyed on a white background, the original work is entitled: Bingata Garment with Peonies. The intricate design structure and vivid colors gave our team ample opportunity to explore this superb dyeing technique that blossomed in the 19th-century Ryūkyū Kingdom in Okinawa. What kind of dyeing techniques allow such minutely-detailed flower petals and leaf shapes, and what kind of culture nurtured the colorful style of bingata? This display explores answers to these questions through a combination of research, fieldwork, and hands-on reproduction.

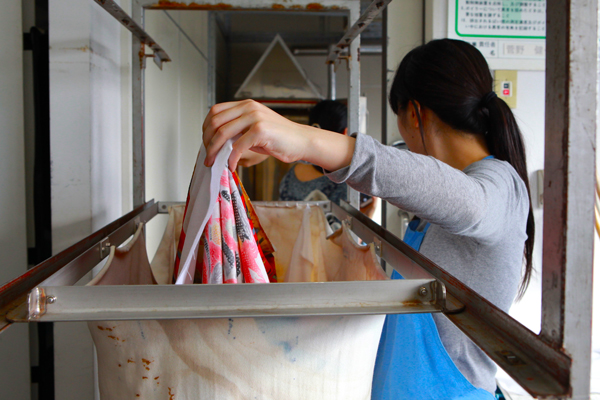
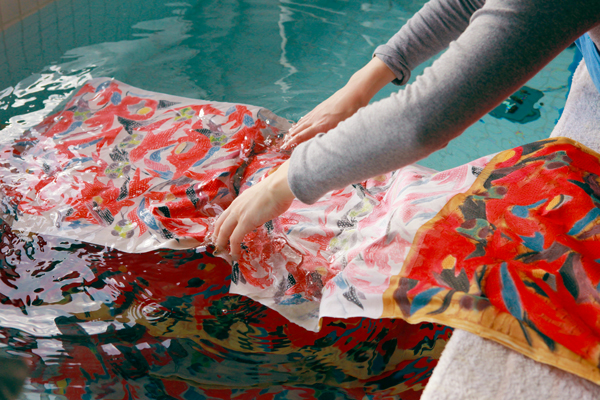
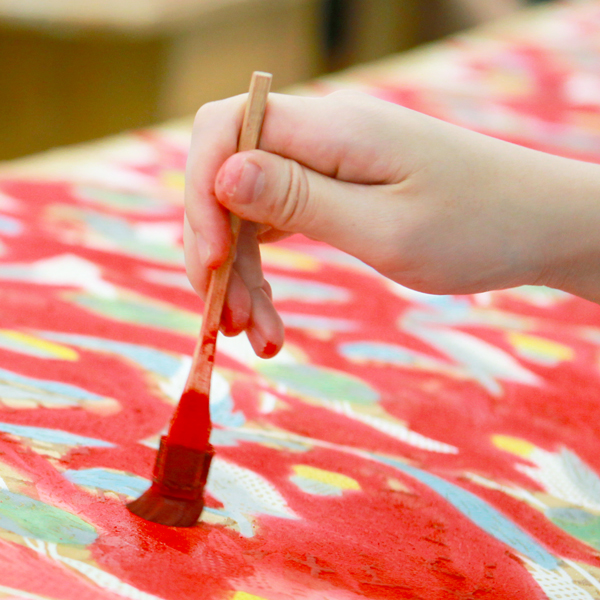
    Before starting production, the team conducted research at the Shiroma bingata Studio, run by one of the leading families that has continued production from the time Okinawa was still known as the Ryūkyū Kingdom. We received much invaluable advice from them concerning the traditional techniques. Today, however, it is difficult to obtain traditional materials for coloring and it was decided after close observation of the original work to take up the challenge of a modern-day reproduction by using materials still available today.

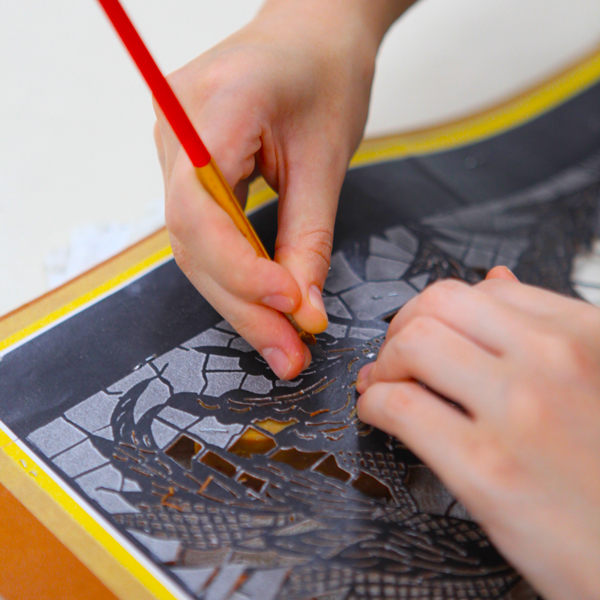
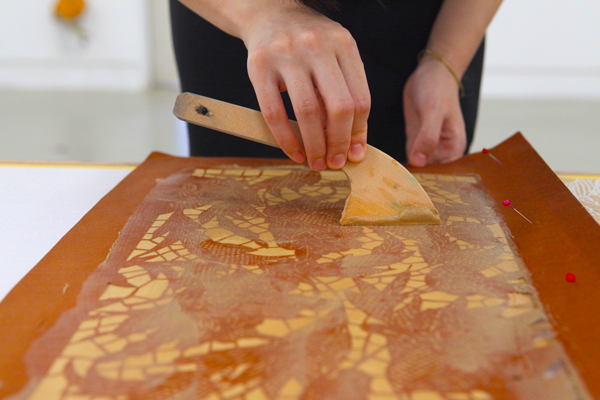
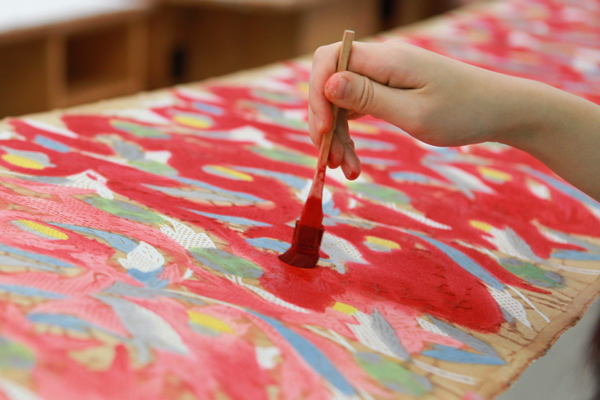
    We hope that, by following each production process, this display allows you to appreciate the beauty of this traditional expertise.


    2016-2017 Internship Research Group, Graduate School of Fine Arts, Tokyo University of the Arts
    Textile Production: Yamada Asao, Okoda Mayuko
    Design: Uchiyama Yoichirō
    Project Management: Tamai Aya, Tsukimura Kino


Original

Bingata Garment with Peonies 
Second Shō dynasty, Ryūkyū Kingdom, 19th century

The original work will be on display in room 16 of the Japanese Gallery from March 14 to April 30, 2023.


1. Stencil cutting

The stencil is carved

Japanese paper coated with persimmon tannin of the same size as the fabric is carved with a special knife.

彫刻刀で型紙を彫っている写真


2. Placing the stencil

An anti-dye glue is placed on the fabric

The stencil made in step 1 is placed on the fabric. Glutinous rice, bran, and salt is then evenly spread over the paper pattern with a spatula.

糊をへらで均一にならしている写真


3. Coloring

The fabric is colored with pigments

To prevent any blurring, gojiru (soybean milk) is first applied to both sides of the fabric, and just before it dries, using a short haired brush, colors are applied working from pale to dark shades.

ごじるを布に塗っている写真


4. Shading

The shading process creates a three-dimensional effect through the gradation of dark to pale shades, and can be seen here in the reddish-purple leaves. At step 3, pale color has been applied first and before it dries, just a touch of darker color is brushed and shaded onto the fabric.

薄い色が乾く前に濃い色を塗ったところの写真


The blur creates a three-dimensional effect.

ぼかしで立体感で生まれた染の写真


5. Steaming

Locking the pigments into the fabric

The pigments are steamed into the cloth for around one hour in a steam room to loosen the fibers, create gaps between them, and allow the pigments to permeate. This process is useful to prevent color irregularities and loss.

蒸している工程の写真


6. Washing out the paste

In this process, the fabric is soaked in water to soften the resist paste, and then, by lightly pulling the fabric on the diagonal, the paste is worked out and floats free. After washing out all the paste, the fabric is dried to finish.

布を洗って糊を落としている工程の写真


The fabric is dried to finish.

完成した紅型の写真